
🔹 Technical Analysis of the Short Setup
-
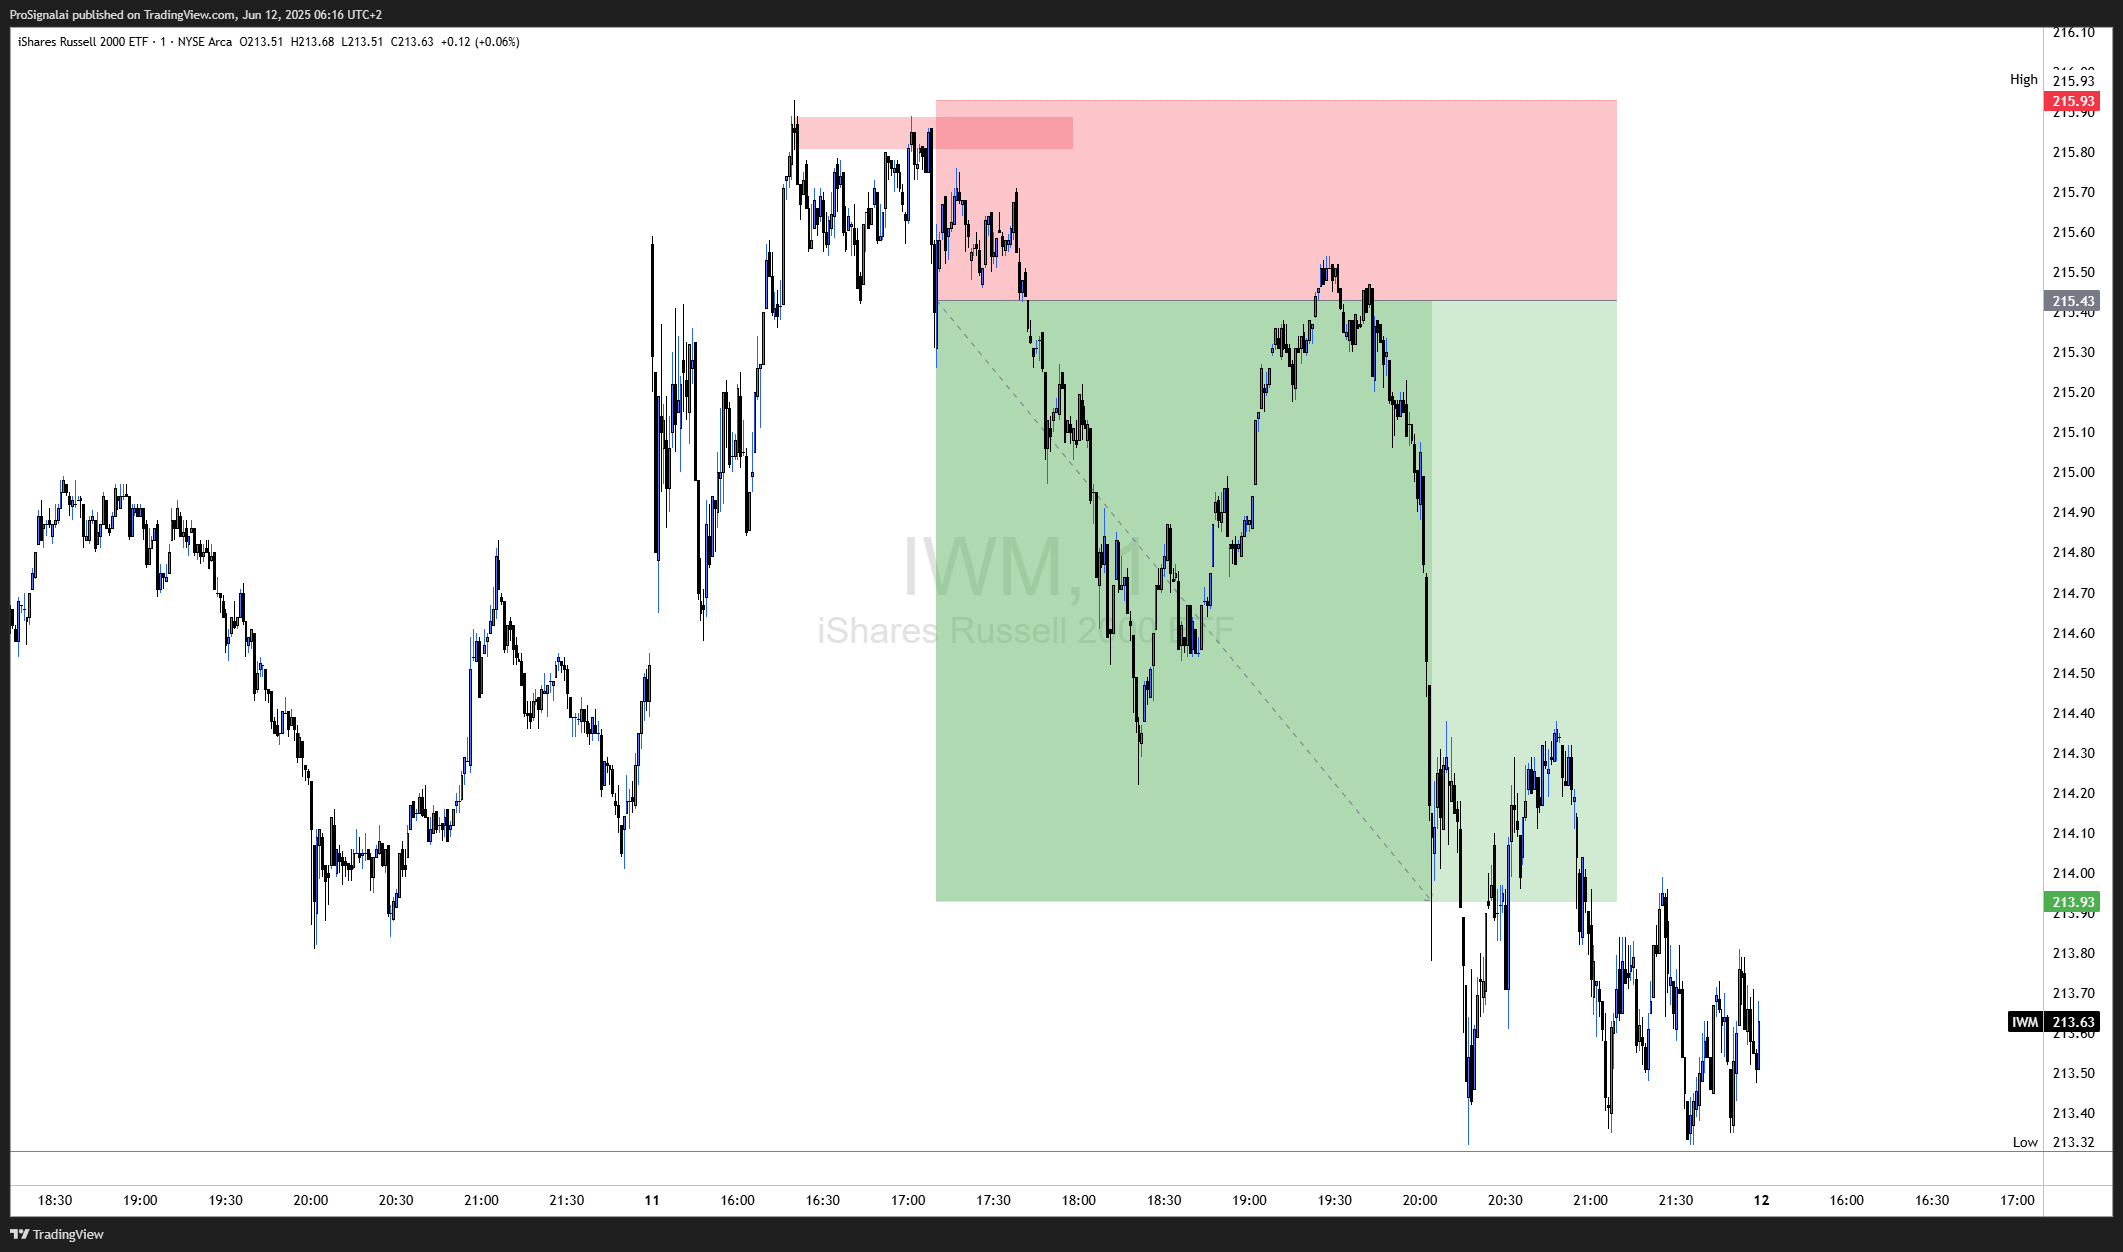
Liquidity Grab: Price made a final push into a premium zone, taking out the previous short-term high. This move likely triggered retail breakout buying and hit stop-losses of early sellers.
-
Supply Zone Reaction (Red Box): Once price entered the marked supply area, it was immediately met with selling pressure, indicating the presence of institutional orders. The sharp rejection from this zone confirmed the validity of the level.
-
Entry & Price Behavior: After the rejection, price began forming a series of lower highs and lower lows. The short entry was taken on a minor retracement, allowing a favorable entry without chasing the move.
-
Follow-Through: Bearish momentum remained consistent, and price dropped smoothly into the designated target zone (green area), aligning with previous consolidation and internal liquidity.
🛡️ Risk Management & R:R Handling
The trade was designed with a tight stop just above the high of the supply zone, limiting downside risk. The take-profit level was chosen based on logical support and internal liquidity structure. This precision led to an impressive risk-to-reward ratio exceeding 3:1, meaning the potential reward was over three times the size of the risk—an essential element of sustainable, high-quality trading.
Disclaimer
Educational example only. Signals are not financial advice; trade at your own risk.